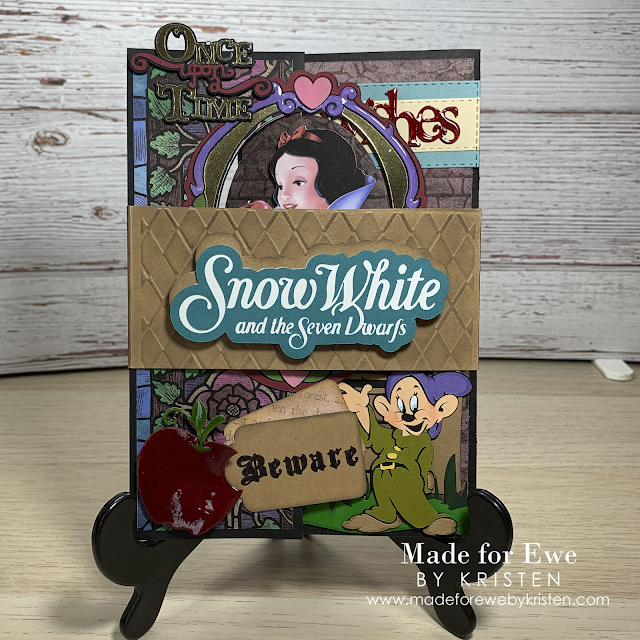
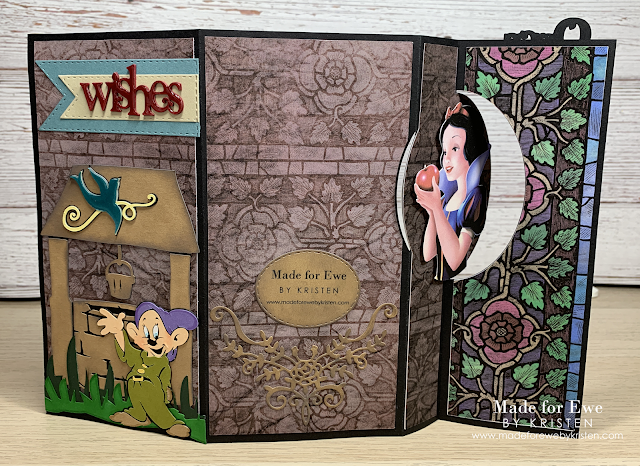
The design is a 4-panel flip card, and each panel gives a short synopsis of the story, Snow White and the Seven Dwarfs.
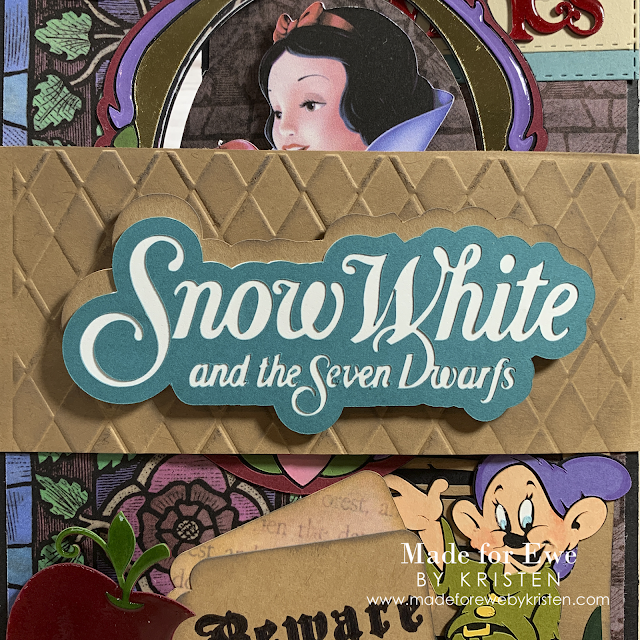
I had to create a band to hold the card together due to the bulk of the design. It velcros in the back to make it easy to remove. It also made the perfect base to create the title of the card. The logo came from the Disney Princess Happily Ever After cartridge, as did the majority of the elements used in the project.
I would definitely consider this an advanced card. First, I had to create the flip card base in Design Studio. Next, I had to scan in the cardstock I purchased to resize it to the correct proportions. I used the Once Upon a Time Stack from DCWV. I also used Ground Espresso Distress Oxide throughout the card to give everything a vintage feel.
I purchased my clipart from Quality Clipart on Etsy. I used clipart for Snow White, the Wicked Queen (Queen Grimhilde), and for Snow White and the Prince. For the design, I really wanted a mixture of different media.
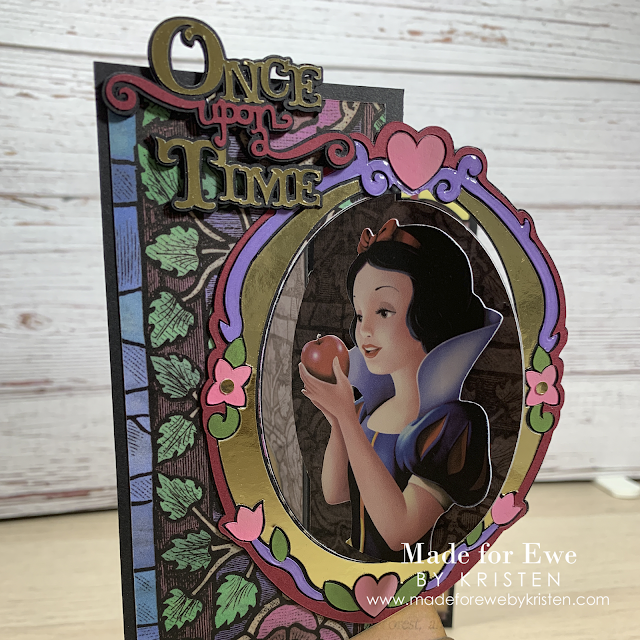
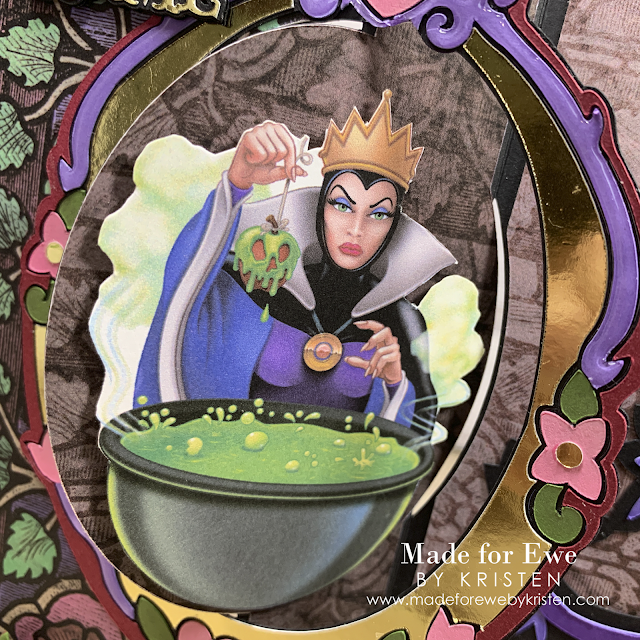
Since everything is in a short synopsis, the front of the card depicts the typical Once Upon a Time, Snow White eating the poisoned apple, and a dire warning. On the flip side of the mirror are Queen Grimhilde and her poisonous brew.
I cut several Once Upon a Time elements so that I could glue them all together for dimension. The apple portrayed at the bottom of the card is also a cut file. I used Rangers Glossy Accents to give it that shiny polished look. I also used it on the purple around the mirror.
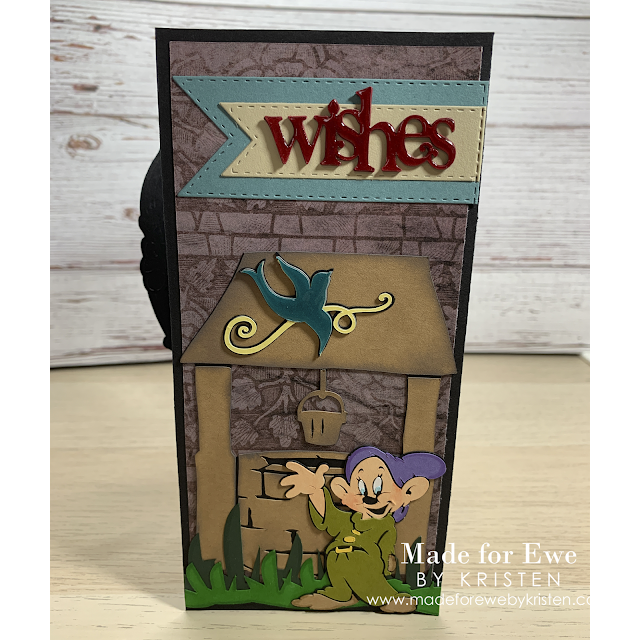
The second-panel features the famous well where Snow White sings, "I'm Wishing." All of these images are from the Disney Princess Happily Ever After Cartridge except for the banners. I used stitched dies to cut those. For Dopey, I wanted him to have more color instead of just flat cardstock, so I added some detail with alcohol markers and distress oxide. I once again applied Glossy Accents to the bird and to the Wishes elements.
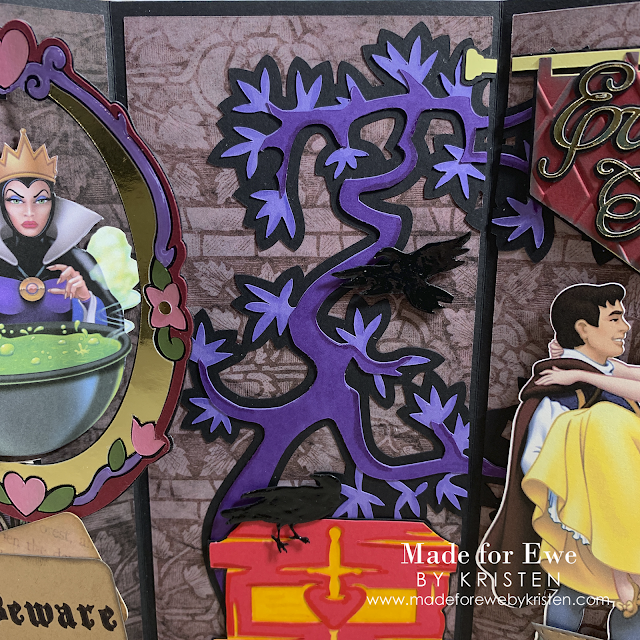
The third-panel takes us to the ominous forest where the Huntsman was given a box and ordered to bring it back with Snow White's heart. Luckily, the Huntsman was a kind man and could not kill the sweet princess.
The crows are from Cricut Access. To make them stand out against the darkness tree, I applied black Nuvo Drops. I used alcohol markers on the box and tree for a little more definition and to keep the cardstock from looking too bland.
Of course, the Prince comes in to save the day in our fourth-panel, and everyone lives happily Ever After.
I embossed the banner tapestry with the Darice Argyle folder. The clipart in the design was cut with the Print and Cut feature in Design Studio, except for Queen Grimhilde. I had to fussy cut her image.
Here are pictures of the full card front and back.
I hope you will continue to join me this month as I celebrate Disney, one of my favorite destinations. Our family has so many beautiful memories filled with visits to the Happiest Place on Earth. And, since we will be missing our annual trip this year, I thought I would revisit our joyful memories this month by putting my energy into creating a collection of cards.
Happy crafting everyone! Until next time...be safe and well.



Post a Comment